
Introduction
I was out by the barn at dawn, coffee in hand, watchin' the calves stir under the lamps — that kind of mornin' you can't fake. Cow lighting matters; I’ve seen how a few extra lux change milk flow and calm the herd. (Around here we count on numbers — like 200–300 lux in the feeding area — to keep things steady.) So I ask: how do you put light where it helps, not where it wastes power or spooks the cows? I’ll lay out what I’ve learned, plain and straight, and show you practical steps that work for farms of different sizes. Next up, we’ll dig into why some fixes look good on paper but fail on the floor.
Why common fixes fall short — hidden pains and technical gaps
Cattle light products promise ease and savings, but I’ve watched good-intent installs trip over small technical details. Many systems rely on cheap LED drivers that flicker under load, or on fixtures with poor lumen output for the task. That flicker isn’t just an annoyance — it stresses animals and can lower feed intake. I’ll be blunt: replacing bulbs without checking the driver and power converters is like swapping tires while the axle’s bent. Look, it’s simpler than you think — you gotta match the LED driver specs to the fixture and consider photoperiod control so you don’t confuse the cows’ circadian rhythm.
 What’s the real user pain?
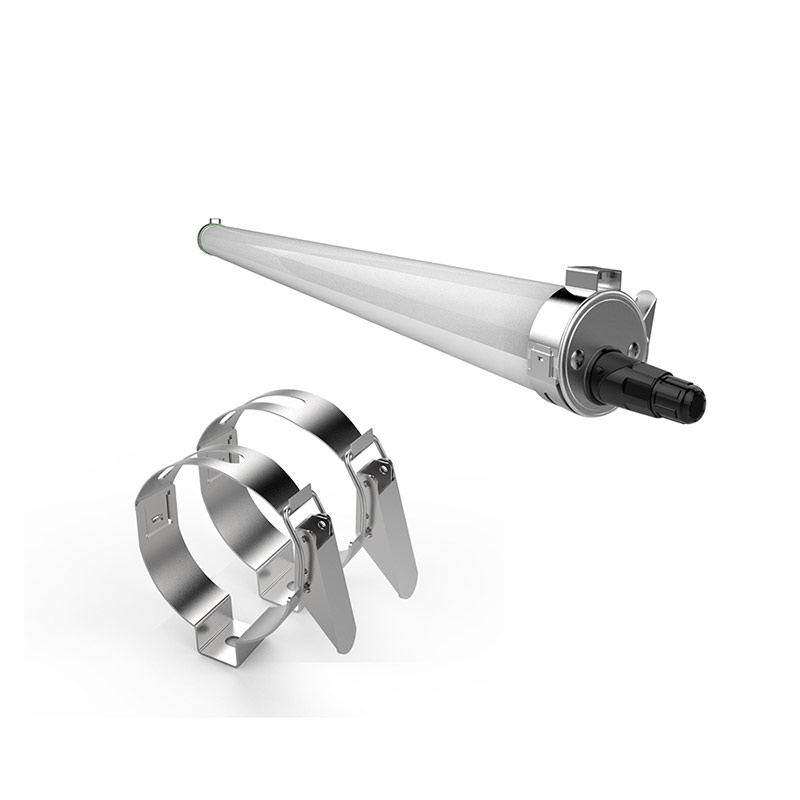
I hear the same complaints from producers: lights burn out too soon, bills jump, and cows act restless at dusk. Those problems often hide deeper issues — wiring that can’t handle surge, fixtures placed for human sightlines instead of animal behavior, and sensors that misread dust or fog as motion. In short, the cheap fix saves a buck today and costs ten tomorrow. We’ve got to look at system-level things: thermal management on LEDs, proper sealing for barns (IP ratings), and reliable edge computing nodes for any automated controls you add. That’s the technical side I don’t mind rolling up my sleeves for.
Looking ahead: new principles and practical metrics for better results
Moving forward, I focus on two things: simple design that respects animal behavior, and tech that survives farm life. Modern installs blend robust hardware with smart rules — not buzzwords, but solid principles: use LED drivers rated for the barn environment, set photoperiod control tied to milking schedules, and size lumen output for task areas (feeding, alleys, rest). When I spec systems now, I choose fixtures with proven thermal paths and durable power converters, and I test them under real dust and humidity. — funny how that works, right?
Real-world impact — what to watch for
If you try a pilot, watch for three short-term wins: calmer animals at dawn, steadier feed intake, and lower night-time incidents. In the long run, you want run-time reliability and predictable electricity use. For many farms, a phased roll-out of Cattle light fixtures, paired with basic controls and proper wiring upgrades, hits that sweet spot. I prefer semi-formal specs when I write orders — clear, testable, and forgiving of real-world roughness.
Closing advice — three metrics to choose the right solution
I’ll finish with a tight checklist you can actually use. When you evaluate a lighting plan, score it on these three metrics: 1) Functional lumen output per zone (does it meet task needs?), 2) System reliability (driver type, IP rating, thermal path), and 3) Control fidelity (can photoperiod and dimming tie to your routines?). Give each a 1–5 score. If any score is a 2 or lower, rethink the buy. Those three numbers tell you more than glossy brochures ever will. And remember, small changes can pay off fast — and sometimes they don’t; that’s the trade-off, human to human.
I’m speaking from hands-on fixes, not just specs. If you want help field-checking an installation or picking parts, I’ll walk the barn with you and point out what matters. In the meantime, for ready kits and components that stand up to farm life, check what szAMB offers — I’ve seen their stuff hold up in real weather, and that counts for a lot.